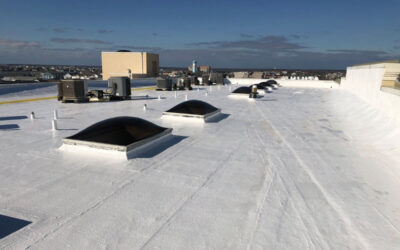
How To Install A Drain On A Commercial Flat Roof

by | Apr 18, 2025 | Definitions, Tips and Techniques, Featured, Flat Roof Installations

Installing a drain on a commercial flat roof is not a DIY project. Properly setting the drain, integrating it with the roof system, and ensuring it is watertight involve technical know-how. If the drain is brand new, plumbing work will probably be required, as there may not be an existing sewer line underneath.

We recommend hiring a professional.

Why Hire a Professional?

Hiring a professional to install a roof drain is the most reliable way to ensure the job is done correctly. Experienced contractors can assess the roof’s condition, determine the best location for drains, and handle any plumbing work required. This approach minimizes the risk of water damage and ensures compliance with industry and local guidelines and regulations.

A flat roofing professional will typically install a drain in five steps.

Step 1: Survey the Rooftop
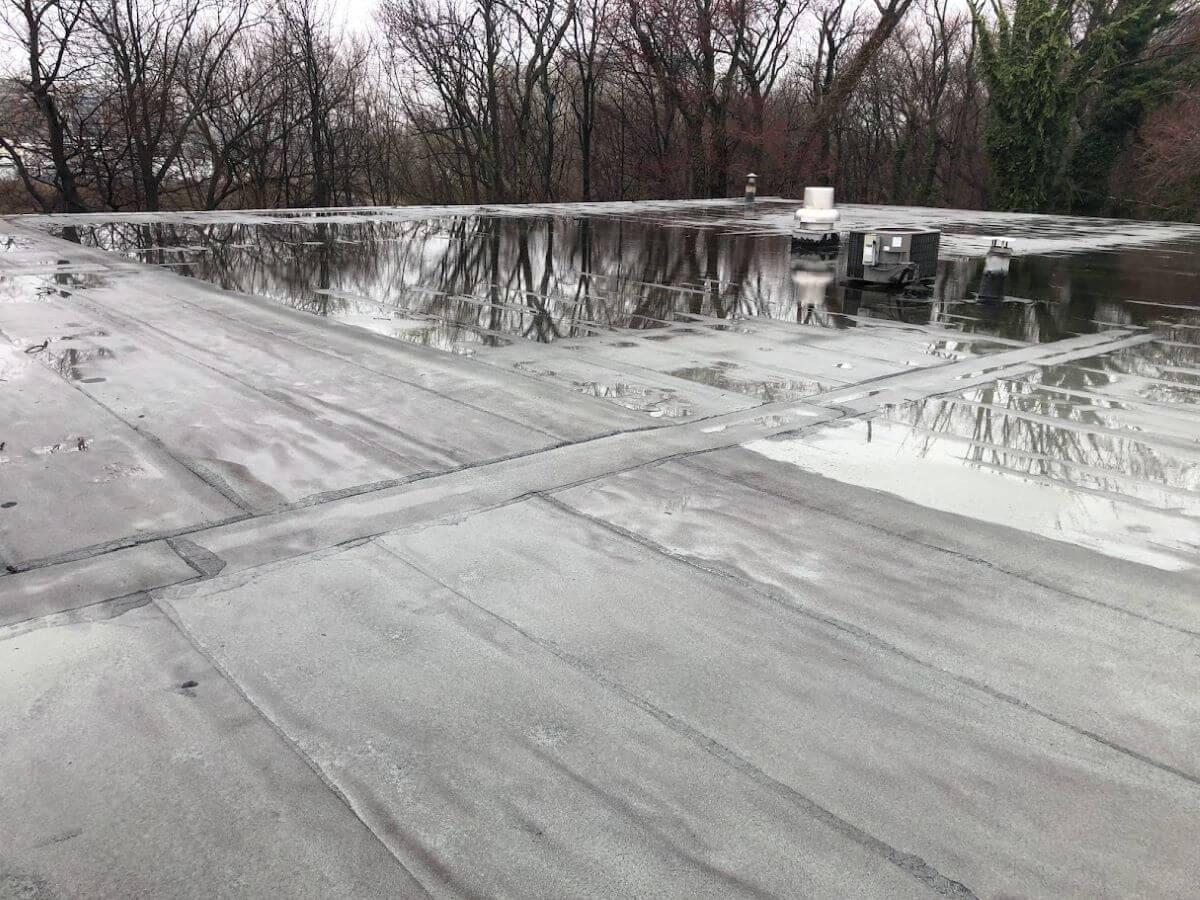
When adding a new roof drain, you want it to go where the water is. Sounds simple, but you would be amazed at the number of drains I have encountered that don’t seem to be located near water.
Commercial Flat Roof Ponding | getflatroofing.com
The best way to identify areas where water accumulates after heavy rain is to survey the rooftop and mark the largest and deepest puddles to indicate where drains are needed. Older buildings with no-slope roofs are prone to ponding, so drains should be installed in those locations to ensure water exits the building efficiently.

Once areas are marked out on the rooftop, the next step is to go inside and verify that the drains can be placed in those locations.

Step 2: Inspect the Roof Underside
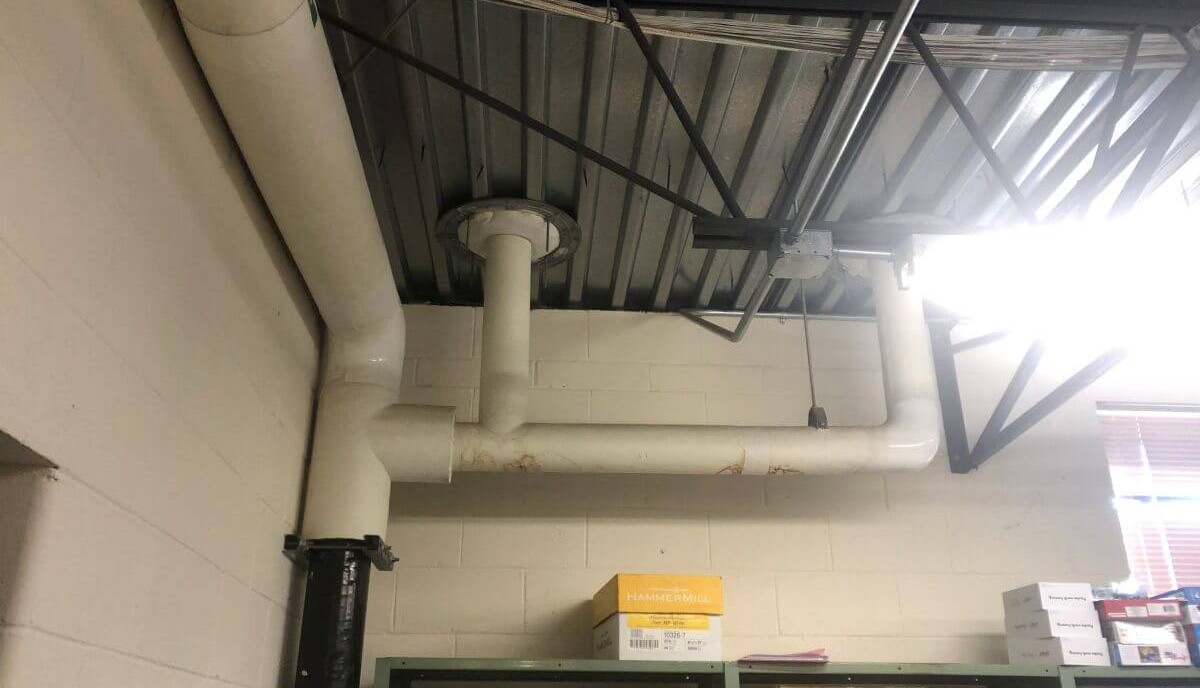
Once inside the building, look at the roof underside and framing in the areas you have marked for installing drains. The goal is to tie into an existing drain line or run a new line to the outside of the building.
Flat Roof Inner Drain System Pipes | Flat Roof Solutions
A roof drain connects to a pipe. It doesn’t just empty into the building. Most of the time, you can run the plumbing any way you need in a commercial building. However, sometimes, and especially in older buildings, structural framing can get in the way.

For example, the drain line you want to install might have to run in a specific direction, but a large steel beam is in the way. You can’t cut through the beam, as that would weaken the building structure. You also don’t want to go underneath it, as it would disturb the finished look of the building. This is where those additional marked puddles come in. Hopefully, one of those is past the beam or helps you avoid it in some other way.

Step 3: Create a Sump
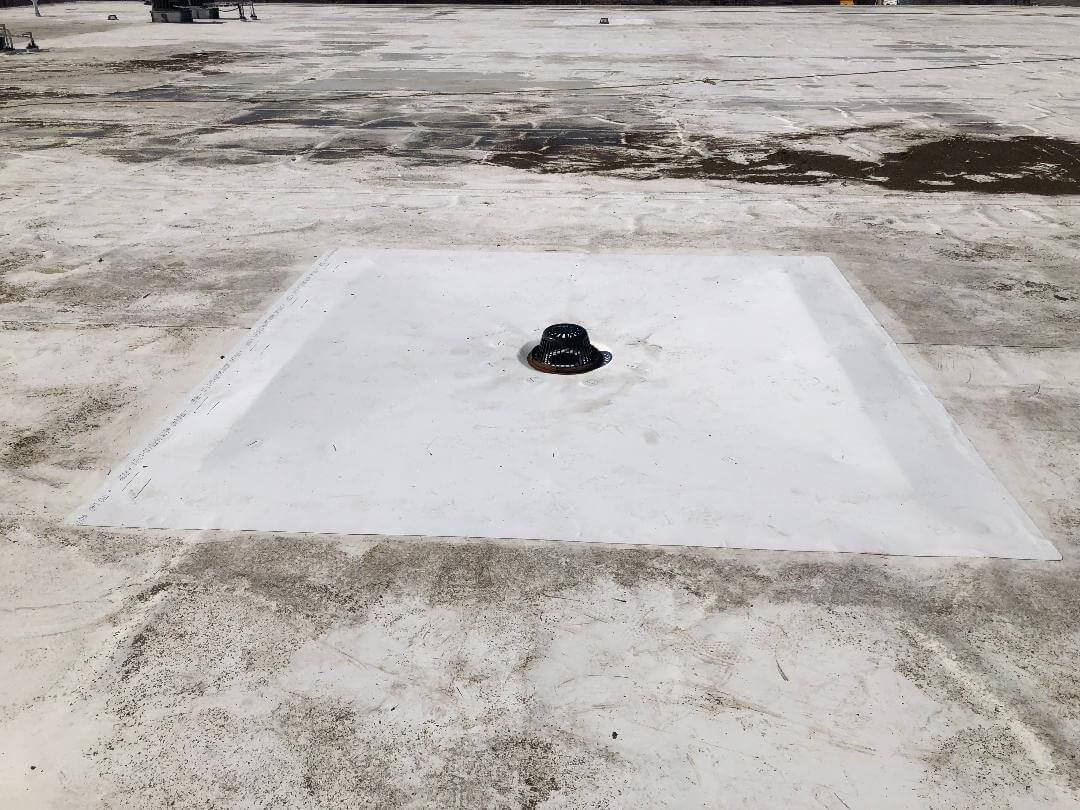
When you are ready to set the drains, mark out an area to create a sump – a pan-like structure installed around a flat roof drain to create a low point for water to collect and be directed toward the drain.
Lowered drain creating a stump | Flat Roof Solutions
Drains must be set lower than the roof surface to function correctly. Again, you would be amazed at the number of drains I have seen above the roof surface. Even if the drain sits a small ½ inch above the roof surface, it would need at least a ½ inch deep puddle around it before any drainage starts.

Mark out a square for the sump, either 4×4 or 8×8 feet. Insulation manufacturers now make sumps out of pre-cut insulation. These are convenient but not strictly necessary if you know how to use tapered insulation to build a cricket. A sump is essentially an inverted cricket, where the water is directed to the center of the pan rather than away, as in a cricket.

Step 4: Install the Drain
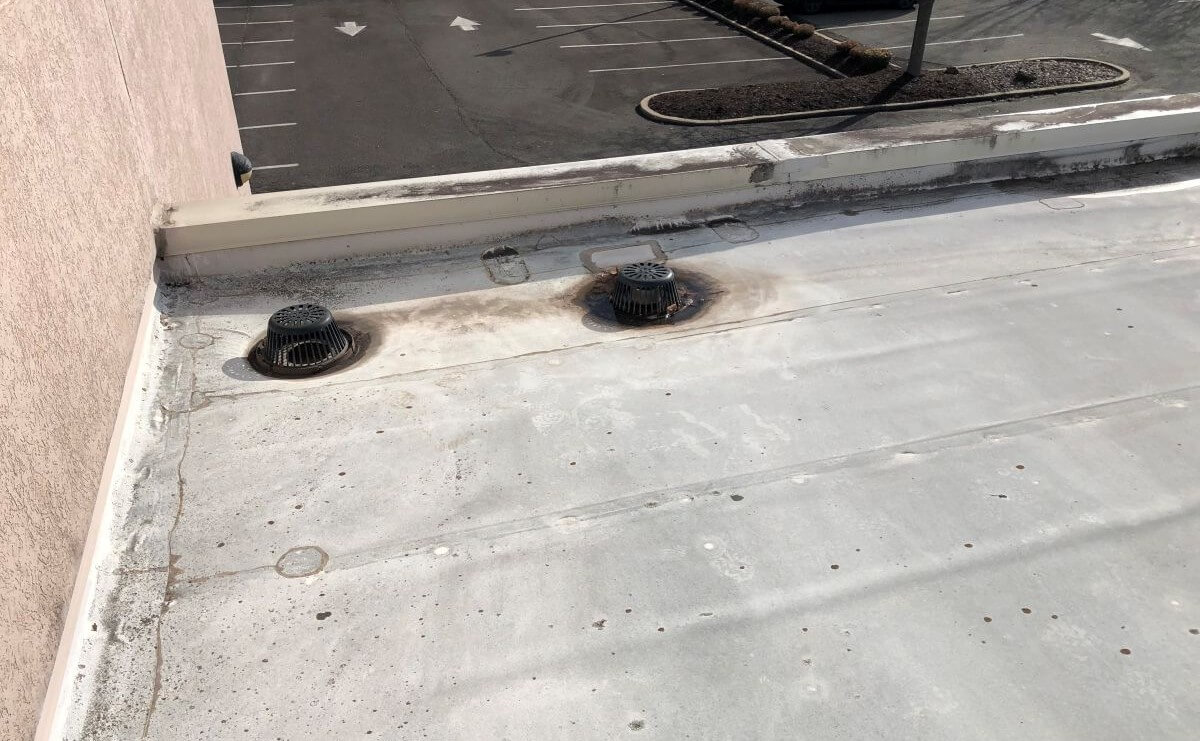
Cut out the roofing material within the marked area to expose the roof deck. Install the pre-made sump or one created from tapered insulation. Drill the hole for the drain, secure it to the roof deck, and install the new roofing membrane over the sump and drain.
Flat Roof Inner Drain System - Mesh Covered Drains | Flat Roof Solutions
Using standard practices, ensure the new membrane is securely tied to the existing roofing membrane. Finally, install the drain clamping ring and basket.

Step 5: Plumb and Test

From inside the building, complete the plumbing installation by connecting the drain to the appropriate pipes. Once the plumbing is in place, test the drain and plumbing with a water hose to ensure proper drainage and check for leaks.

In Conclusion

In conclusion, installing a drain on a commercial flat roof is a complex process that requires careful planning, proper execution, and expertise in both roofing and plumbing. Ensuring the drain is correctly positioned, securely installed, and effectively integrated with the roof system prevents water damage and prolongs the building’s lifespan.

While understanding the steps involved can be helpful, hiring a professional is the best way to guarantee a reliable and code-compliant installation. With the right expertise, your flat roof drainage system will function efficiently and protect your property from water-related issues.

Expert Advice

Whether you’re a beginner, need advanced information about flat roofing topics, or a refresher,  this is where you can learn everything you need to know about commercial and industrial flat roofing.

Contact us for more information or pricing.

Subscribe


Author

Jared Van Vranken

Jared is Vice President and lead estimator at Flat Roof Solutions in Malvern, PA. He has directed the installation, repair, recovery, and replacement of commercial flat roofs for more than a decade at Flat Roof Solutions and guides clients in selecting the best roofing materials for their needs and budget.

You Might Also Like

Who Regulates Flat Roofs?

Who Regulates Flat Roofs?

A complicated and highly-effective web of voluntary associations, roofing material manufacturers, and roofing contractors work together to ensure building owners are protected from product failures or installation defects.

read more

Add your first comment to this post

Pin It on Pinterest

Share This